PV 4K series camera upgrade instructions
Download the PV camera's upgrade tool and Firmware
PV Camera Upgrade Tool
| PV IPC Upgrade Tool_20220228_v3880_win32 | download |
PV Camera Upgrade Firmware
| PV4-10X | download |
| PV4-12X | download |
| PV4-20X | download |
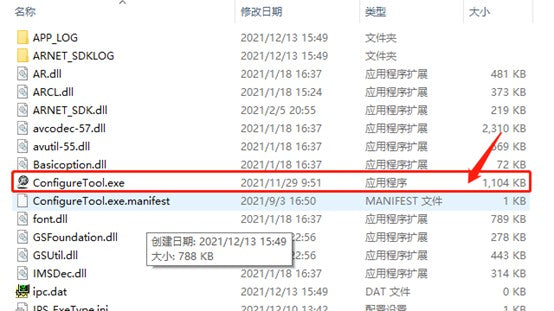
Open the update tool:

After opening the upgrade tool, click the refresh button and let the tool search for the device's IP address.


Tick the devices that need to be upgraded and then double-click to batch upgrade.

NOTE: It should be noted here that the device's IP address and the computer's IP address need to be in the same network segment. Otherwise, the upgrade will not be successful.
Click the Select File button to select the upgrade file.

Select the files that need to be upgraded

Adjust the sequence of upgrade files. Select the file to be adjusted and click Move Up or Move Down to change its position (if there is only one file, ignore this step)

The correct upgrade sequence of the files is below:
1-> CM-Z****-SP-Updata-20240201.dat
2-> CM-Z****-SP- uImage -20240201.dat
3-> CM-Z****-SP- 20240201.dat
4-> CM-Z****-SP- rootfs -20240201.dat
After adjusting the upgrade sequence, click "Send upgrade package" and wait for the upgrade to complete.
If any files are not upgraded successfully, you need to reselect those files and send the upgrade again.
Upgrade completed. Click "Restart" to select the device.
After completing the upgrade, log in to the camera's WEB interface (192.168.1.123) and check whether there is an NDI activation option. If so, the upgrade is successful.

After the upgrade is successful, fill in the NDI activation license of the camera in the Authentication Key on the NDI interface, and then click Apply. The NDI can be activated after the camera restarts.


minha camera ta com versão de core 1.0 mas a compilação é mais nova que do pacote de atualização, sabe me dizer qual ultima versão correta??
i have upgraded my camera which originaly came with ndi but after upgrading there is no ndi function